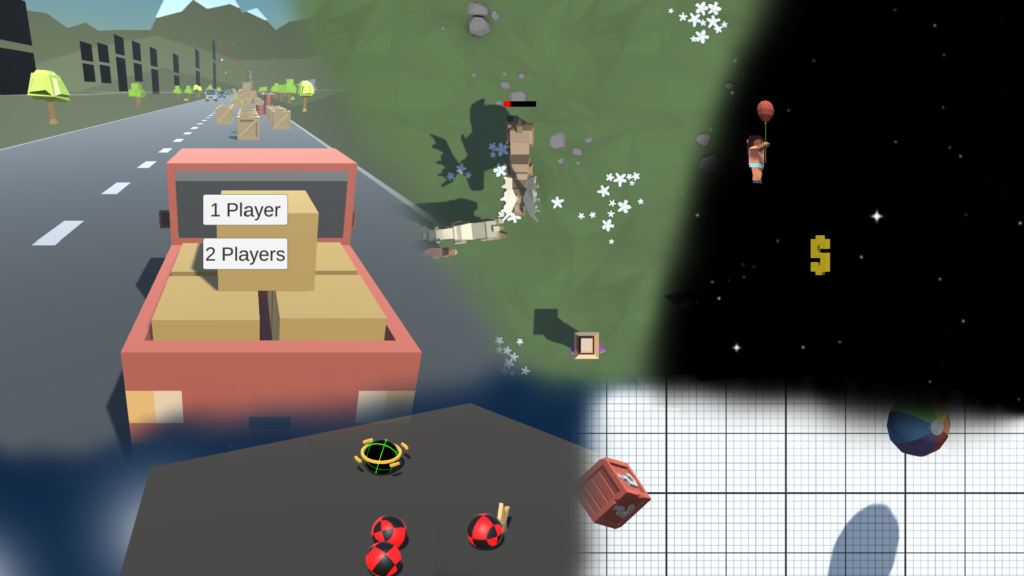
So, in addition to the personal project, the Unity Create with Code Live course (as well as the regular non-live Create with Code course) includes five “prototypes”, mini-games that the learner creates over the course of the… course. Although I’m still working on my personal project (and that’s what the last two posts have been about, and what the next few posts will likely be about), I’ve now finished all five of the prototypes, and I figured just for the heck of it I’d go over a brief review of them, for anyone who hasn’t gone through the Create with Code course and is curious what it entails (or I guess for anyone who has gone through the Create with Code course and… wants to read what someone else thought of it?)
One thing I’ll say at the outset, though this is highly subjective and has more to do with my personal preferences than with anything else: the games get monotonically less interesting as the course goes on. The Unit One prototype is a more fun game (again, from my subjective viewpoint) than the Unit Two prototype, which is a more fun game than the Unit Three, and so on. Again, this is mostly down to my own preferences, and the fact that I don’t enjoy the kinds of games the later prototypes are implementing, but it goes toward part of the reason why I didn’t put as much effort into customizing the later prototype. (Another part of the reason is of course that by then I was working on my personal project and just didn’t want to spare the time to add features to the other projects that no one else was going to see anyway.)
Of course, reviewing these prototypes as games is kind of missing the point, because they’re not really intended to be polished games; the raison d’être of the prototypes is to teach various facets of Unity programming and editor use. And from that standpoint, their order makes sense; the Unit Five project, for instance, may not (to me) to be much of a game, but it does its job teaching how to use the UI. But I’m going to briefly give my thoughts on each prototype anyway, I guess.
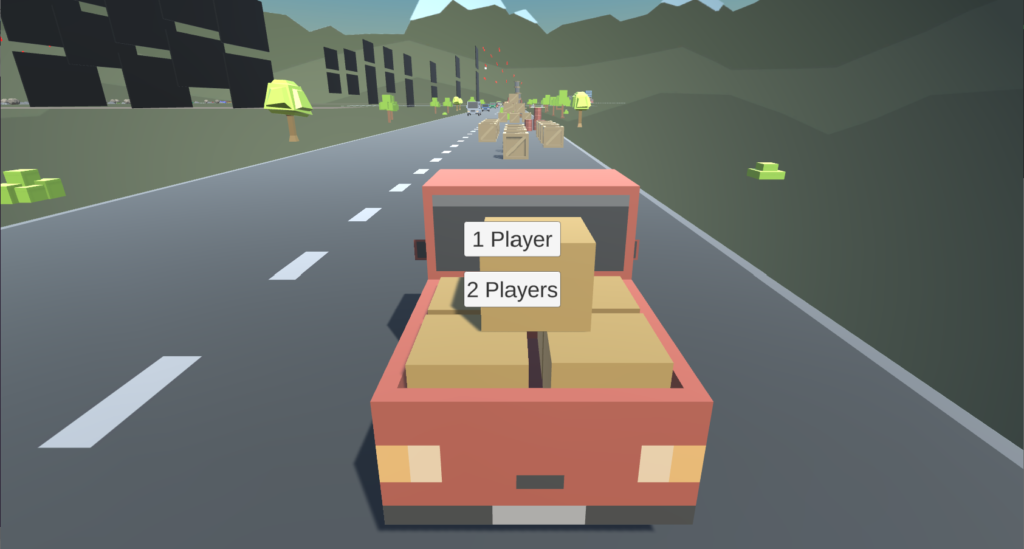
The Create with Code course starts out in Unit 1 by implementing basic player control—as well as some very basic physics, allowing objects to collide with each other and be affected by gravity. The associated project that the learner creates is a simple game in which the player drives a car down a long, straight road.
The description of the game may seem at odds with my earlier claim that the games get less fun as the course goes on. Does driving down a long, straight road really seem like fun? Well… for the bare-bones project, maybe not. But there are optional bonus features involving adding opposing traffic and other obstacles, and with those it’s not hard to make a halfway decent little game out of it. Of course, you could make the argument that if I’m judging these games not on what they fundamentally are but what they can be if you put a little more work in, then couldn’t the later games be made more fun if you add more features too? But I just don’t the later games really lend themselves to fun games as well no matter how many extra features you add, unless you change the basic premise and control schemes of the games. Again, though, I admit this is all highly subjective.
Near the end of each unit, the learner is presented with a challenge—a broken game that the learner is asked to debug, applying the principles taught in that unit. In this case, the challenge game involved flying a plane through gaps in vertical blocks. In my finished game for Unit 1, I ended up incorporating the Challenge 1 game as well, having the player alternate between driving on roads and flying planes. I also added a lot of scenery and obstacles, even using a paid asset from the Asset Store (the Simple Town Cartoon Assets—many of the models provided with the project came from this pack anyway, so the style matched up). It’s still not really a great game, but it is at least a game, and I think it’s kind of fun to play (though I may have made the second road section, with the rolling boulders, a bit too hard). You can play my version of the Unit 1 game here: By Land and by Air. (Use the arrow keys or WASD to control the car; you can hit C to change the camera view.)
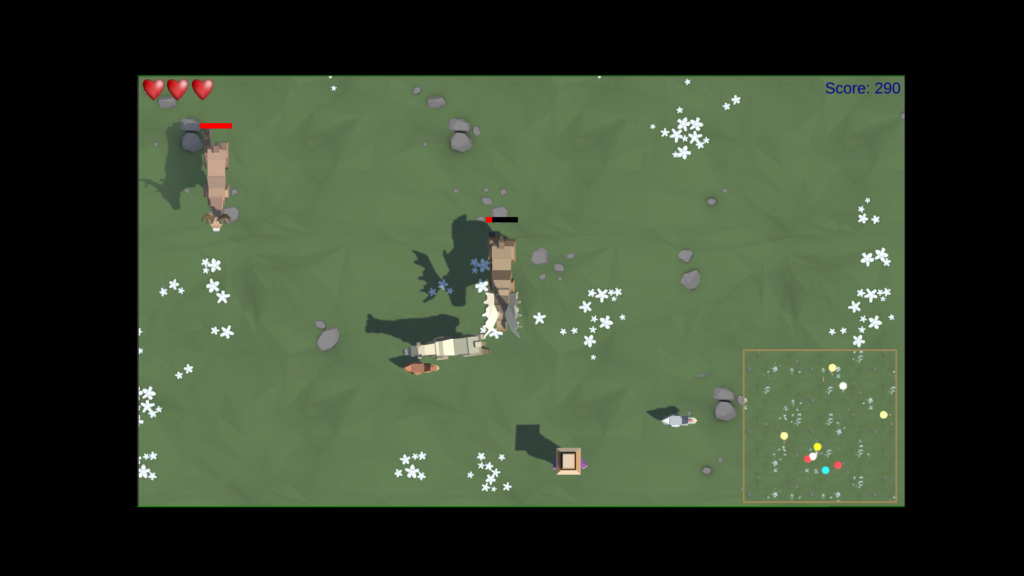
So “basic gameplay” is a bit of a nebulous term, but Unit Two taught principles like spawning and deleting objects, using triggers to make things happen when objects collided. To do this, the learner created a mini-game where the player tossed food at approaching animals—basically a top-down third-person shooter, but themed around feeding animals instead of shooting aliens. (I’m not a huge fan of shooters—my favorite game genres are probably RPGs and adventure games, followed maybe by platformers and puzzle games—which is probably why I thought this game was less fun than the game from Unit One. But again, that’s just me, and isn’t important anyway because the point of these projects is to learn Unity, not to make great games right off the bat.)
I didn’t get quite as carried away with adding content as I did for Unit One, but I did do some customization, making the animals turn aside when they got fed instead of disappearing, and giving the player three lives represented by hearts (the Create with Code course doesn’t really get into UI until Unit Five, but I got a bit of a headstart—and anyway one of the optional challenges for this unit, creating a hunger bar for the animals, did involve using UI—at least, for the most straightforward way of doing it, though I guess it could have been done in other ways). The trickiest thing I tried to implement here was an overhead minimap so the player could see the animals coming at a distance; I’d already learned how to use multiple cameras from one of the Unit One optional bonus features (I completed all the bonus features for each unit, wanting to get as much out of the course as possible), but implementing the minimap helped me get more comfortable with this feature and getting different cameras to show different objects.
You can play my Unit Two game, if you’re so inclined, here: Animalimentation
The challenge game this time around involved sending a dog out to catch falling balls. I thought about trying to combine the challenge game with the regular mini-game, but didn’t end up doing so, in large part because they relied on sufficiently different view angles that I didn’t see a simple way to put them together. (The regular game was top-down; the challenge game used a side view and wouldn’t really have worked in a top-down view, since you couldn’t see the balls falling.) You can play the finished (that is to say, debugged) challenge game here, but I didn’t really add anything to it.
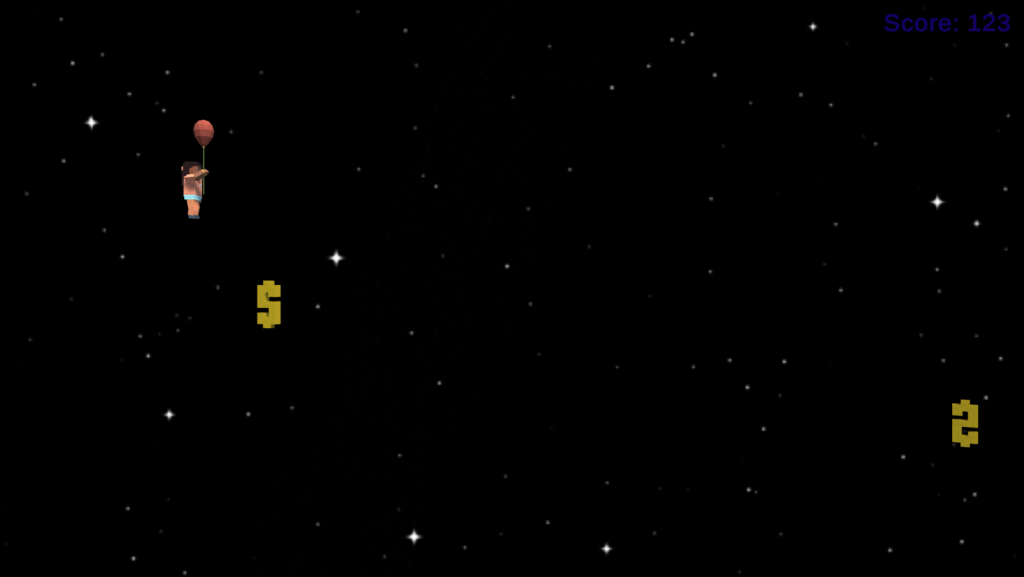
This unit, as the unit name implies, teaches the learner how to add bells and whistles like particle effects, sound effects, and music to a game, as well introducing the basics of animation in Unity. The game created in this project is an endless runner in which the player jumps over obstacles as they hurry through a city, town, or wilderness setting, depending on the creator’s choice of backgrounds.
The challenge this time involved a game in which the player maneuvered a balloon to pick up targets and avoid obstacles. As with Unit One, I combined the challenge with the regular game: after the player successfully navigated a certain number of obstacles, they would find a balloon, and on grabbing the balloon’s string would be carried into the air for a while before descending into a different setting, with different obstacles. (The running section cycled between the wilderness, town, and city so I could use all three backgrounds.) I also gave the player some ability to move laterally during the running sections. You can play the game here: Run and Float. Use the arrow keys or WASD to move laterally or alter your forward speed; use the space bar to jump (or to move upward during the balloon section).
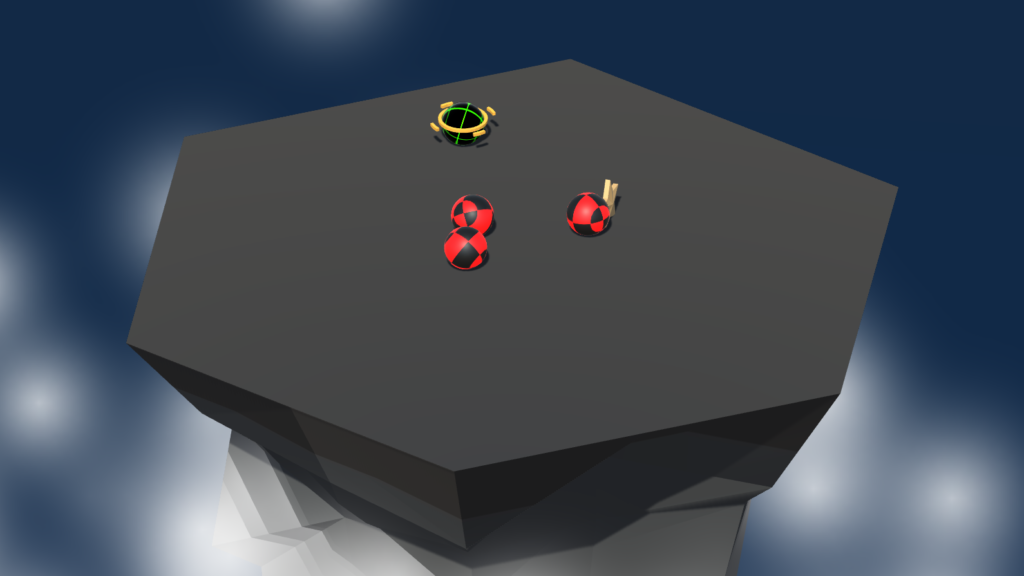
In this unit, the learner created a game in which rolling spheres tried to knock each other off a floating platform. Once all enemies were defeated, the next wave had more of them, but there were also powerups to give the player a bit of advantage. This unit taught a few programming features, perhaps the most interesting and important of which (at least for someone who already has some experience with C-like programming languages and thus already familiar with things like for loops) is coroutines, functions that can be made to work in parallel with other game processes.
I admit I didn’t really bother adding much to the minigame this time, partly because I didn’t find the game itself too exciting and partly because by this point in the Create with Code Live course learners were working on their personal projects, and I preferred to spend time on that. All the customization I did was cosmetic: making the balls glow and giving the powerups some basic animation. Still, if you want to play my completed Unit Four game for some reason, it’s here: Scuffle in the Sky. You can use the arrow keys or WASD to move, though the control scheme is (or was to me, anyway) a bit unintuitive, and may take some getting used to.
Oh… and again, I didn’t try to combine the main prototype and the challenge into one game this time. I didn’t customize the challenge game at all—it involved a game where you’re trying to knock soccer balls into the opposite goal on a soccer field—but it’s here if you want to play it. (There is no reason you should want to play it.)
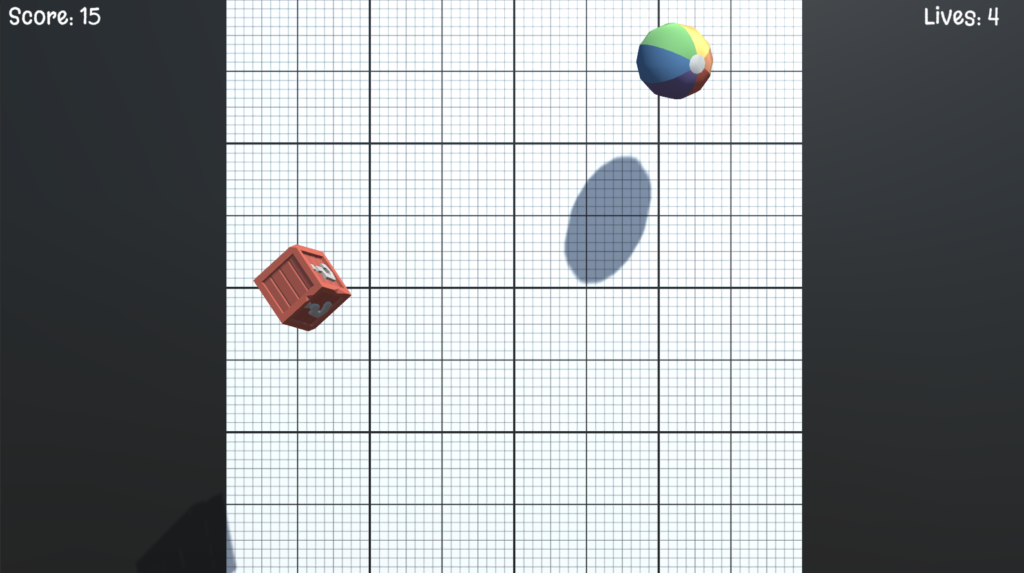
As I mentioned before, and as it says in the unit title anyway, Unit Five focused on implementing user interface elements, namely in this case buttons and text. I’d already gotten a bit ahead of things and implemented some user interface elements as early as my Unit One project, so by this time not much of this was new to me, but it’s definitely something important to be familiar with to create a full game.
The prototype this time around was a game in which the player clicked on various objects that shot up from the bottom of the screen. Which… really isn’t my type of game, to be honest. Still, I did add on a few extra features, namely a life counter (in the vanilla prototype the game ends as soon as one object that the player is supposed to click on falls off the screen) and crates that randomly fall from the top of the screen and that award either a random number of points or an extra life when clicked on. Oh, and just for the heck of it the Game Over message spins and fades into view. You can play the game here: Clickball.
As with Units Two and Four, I didn’t bother trying to combine the prototype and the challenge. The challenge this time around was a game in which the player was supposed to click on food items that appeared randomly in grid positions. Again, I didn’t do any customization, but you can play the debugged challenge game here if you really want to for some reason.
(I had at one point considered combining all the prototypes and challenges into one game, complete with all bonus features, allowing the player (or players, since per one of the Unit One bonus features it was going to have the option for multiplayer play) to switch between the games and to unlock powerups in one game by completing challenges in another. Some of the games were going to be visible from the others, too; for instance, the endless runner from Unit Three was going to be for at least part of the time running along the road from Unit One. In the end, I figured this wouldn’t be worth the time it would take to implement, and that my time would be better spent on my personal project. As it turns out, though, someone else did decide to combine all the prototypes and challenges into one game (though not exactly the way I was going to do it) as their personal project, so I guess if you want to see that you can play it here.)
Final Thoughts
So, as I said, to me these games really got less interesting—as games, not as learning materials—as the course went on. The Unit Five game was easily the least fun to play, while the Unit One game was the best. Still, again, creating fun games isn’t really what these prototypes are for; they’re to teach the person taking the course how to make games in Unity, and they fulfill that purpose well.
Still… I’m glad to have all these prototypes behind me now, so I can focus on my personal project; that, of course, is the part I’m really excited about. I expect to be making another post about my progress on my personal project by Saturday at the latest—I should have finished implementing the basic gameplay by then, and if all goes well I’ll have the UI done too.
